[📡 QRP Antenna Build from K6ARK]
Mixing QRP radio waves with camping stays and hiking days with this little antenna build!
Quick Summary
Main Topic: Pictures and steps from my experience building this qrp antenna from k6ark.
Key Features: Super tiny components and a rookie at soldering what could go wrong?
Outcome: Multi-band resonate low power antenna that is lightweight and easily deployable.
🛠 [Low Power? But, why?]
Let’s be honest, with my knees, I am not peaking many summits. So why build a low power qrp antenna?
Well, because I still like to go on hikes and the lighter the better, plus I think it will help motivate me to continue practicing CW for field operations.
📈 [Building the QRP 49:1 EFHW Antenna]
Inspired by the excellent instructions provided by K6ARK, I decided to take on the challenge of picking up an iron to build a QRP End-Fed Half-Wave antenna.
Here’s a step-by-step recount of my progress, complete with photos.
Materials and Tools
Before getting started, I gathered all the materials and tools listed in the guide. The clear and concise instructions made it easy to ensure I had everything I needed.
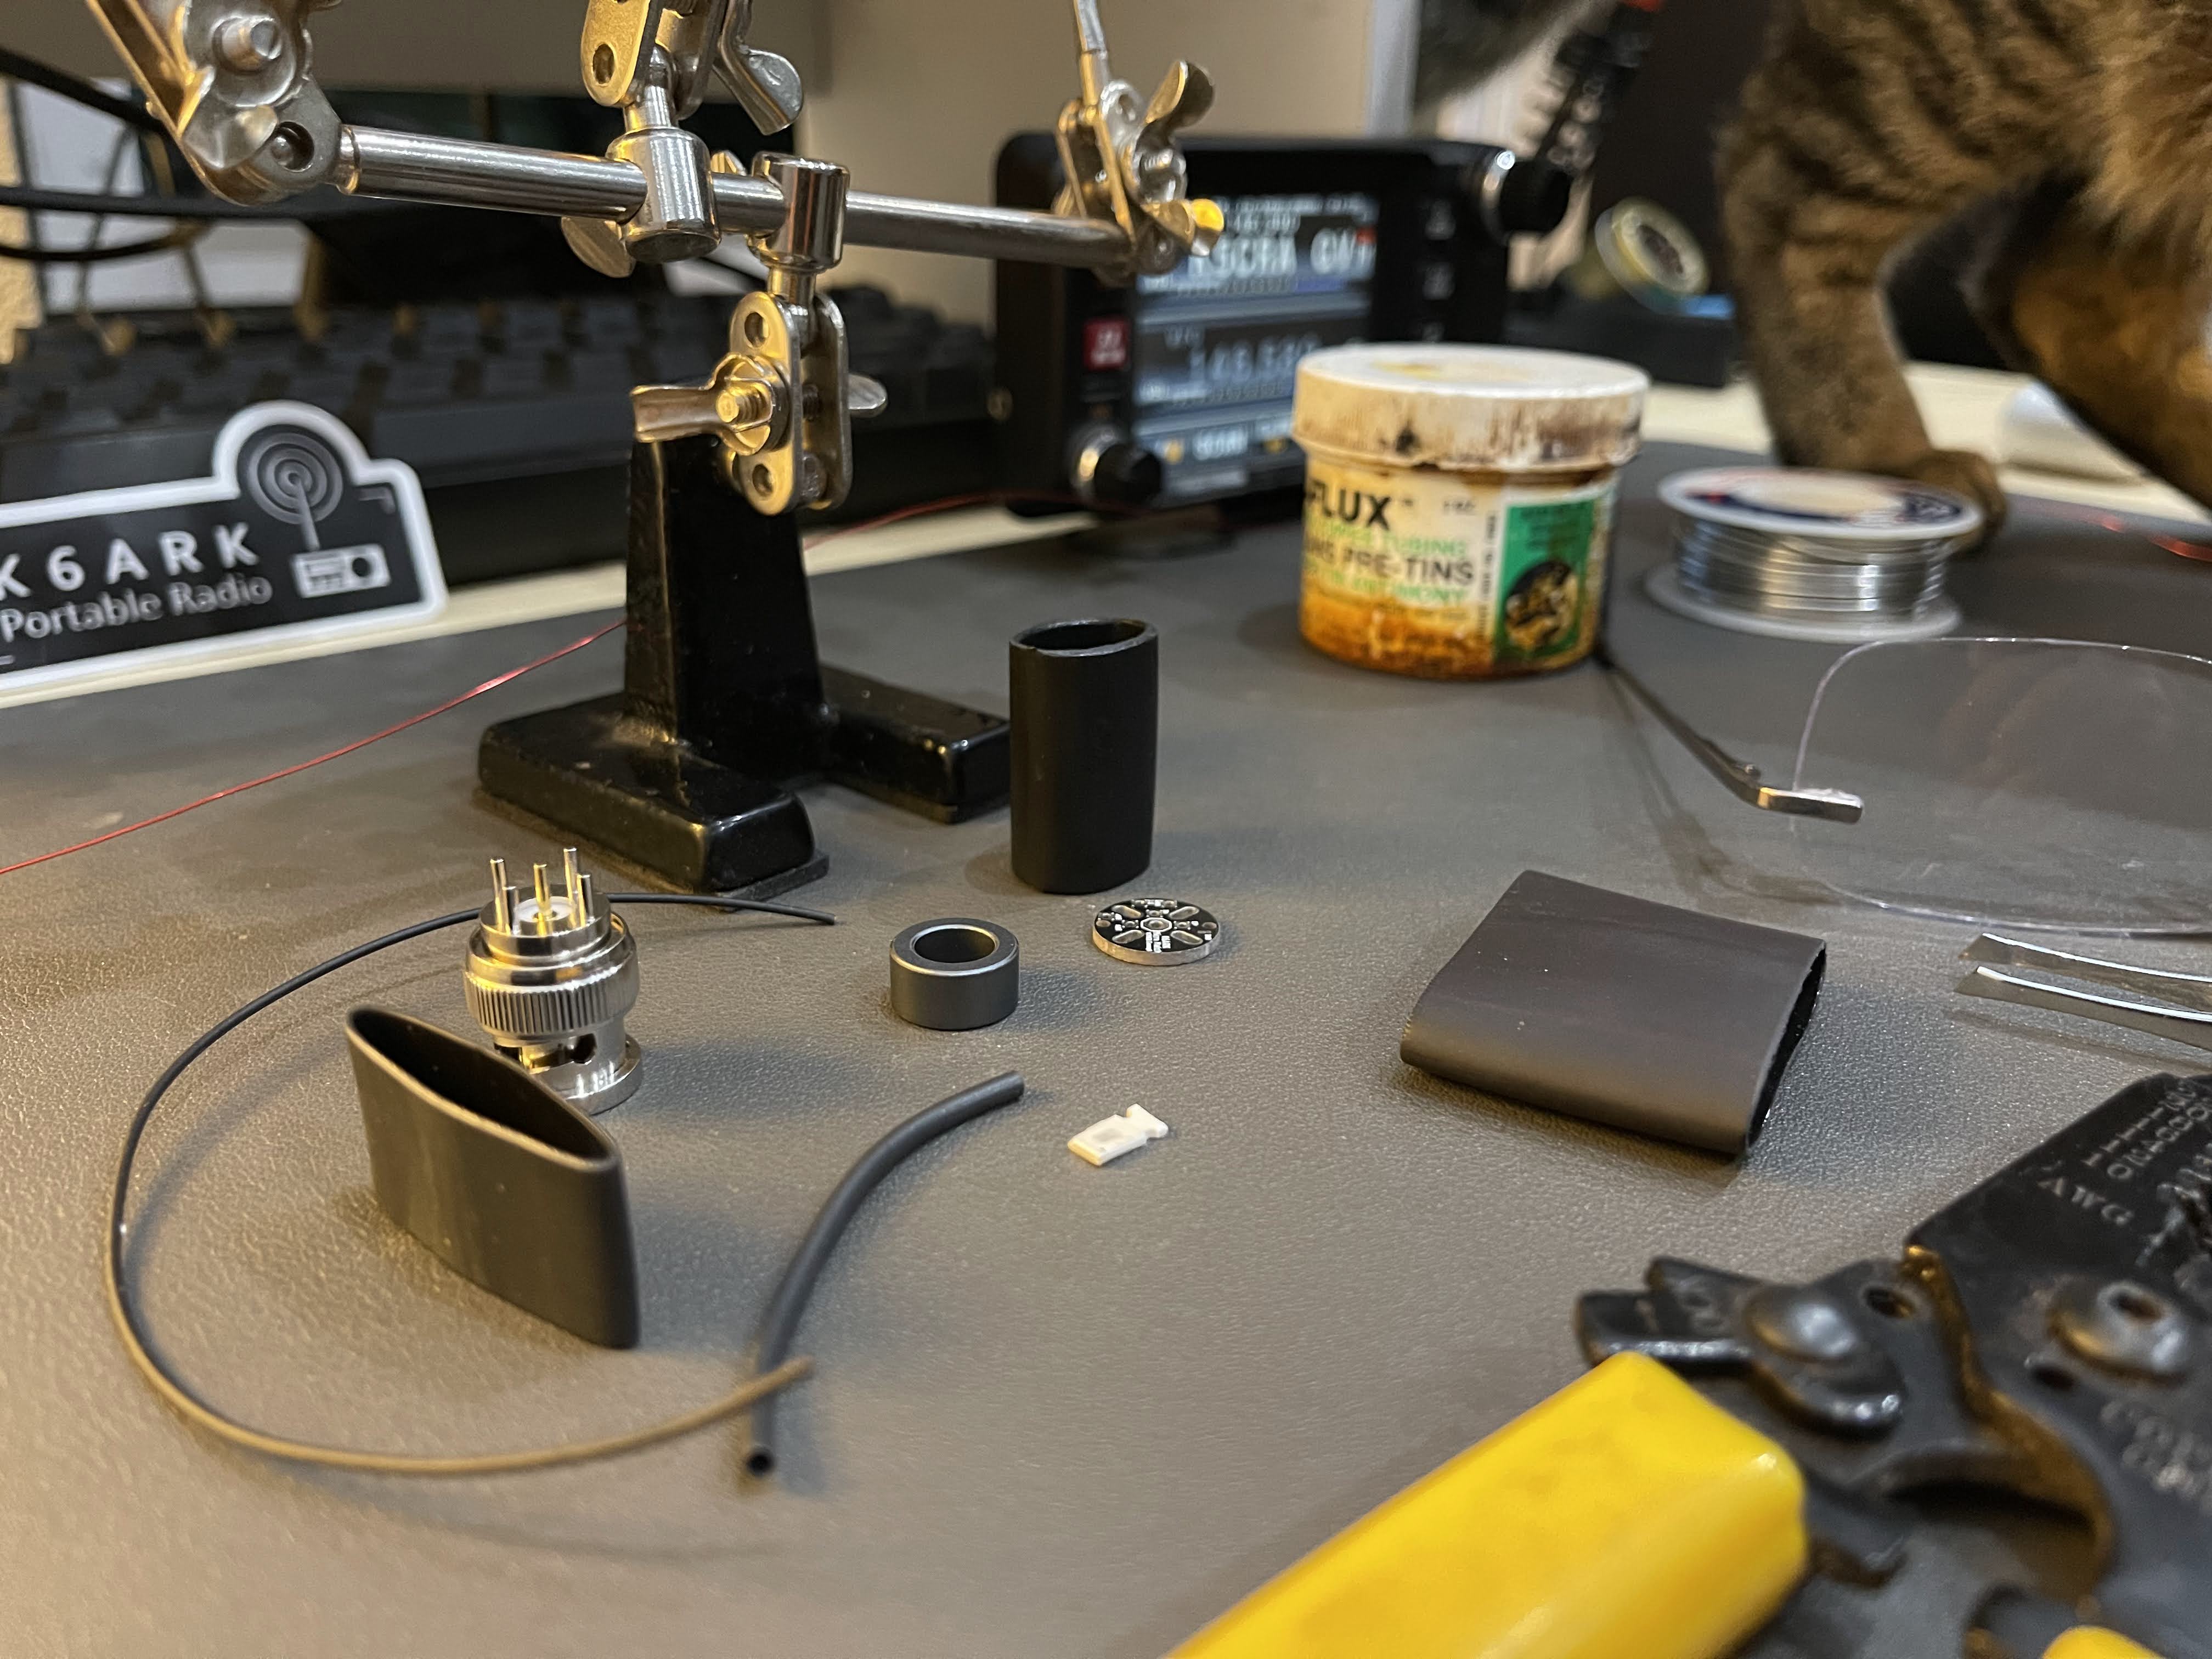 A clean workspace makes this process much smoother.
Step 1: Wind the transformer
The first step I did was wind the toroidal transformer as described in the documentation and pictured.
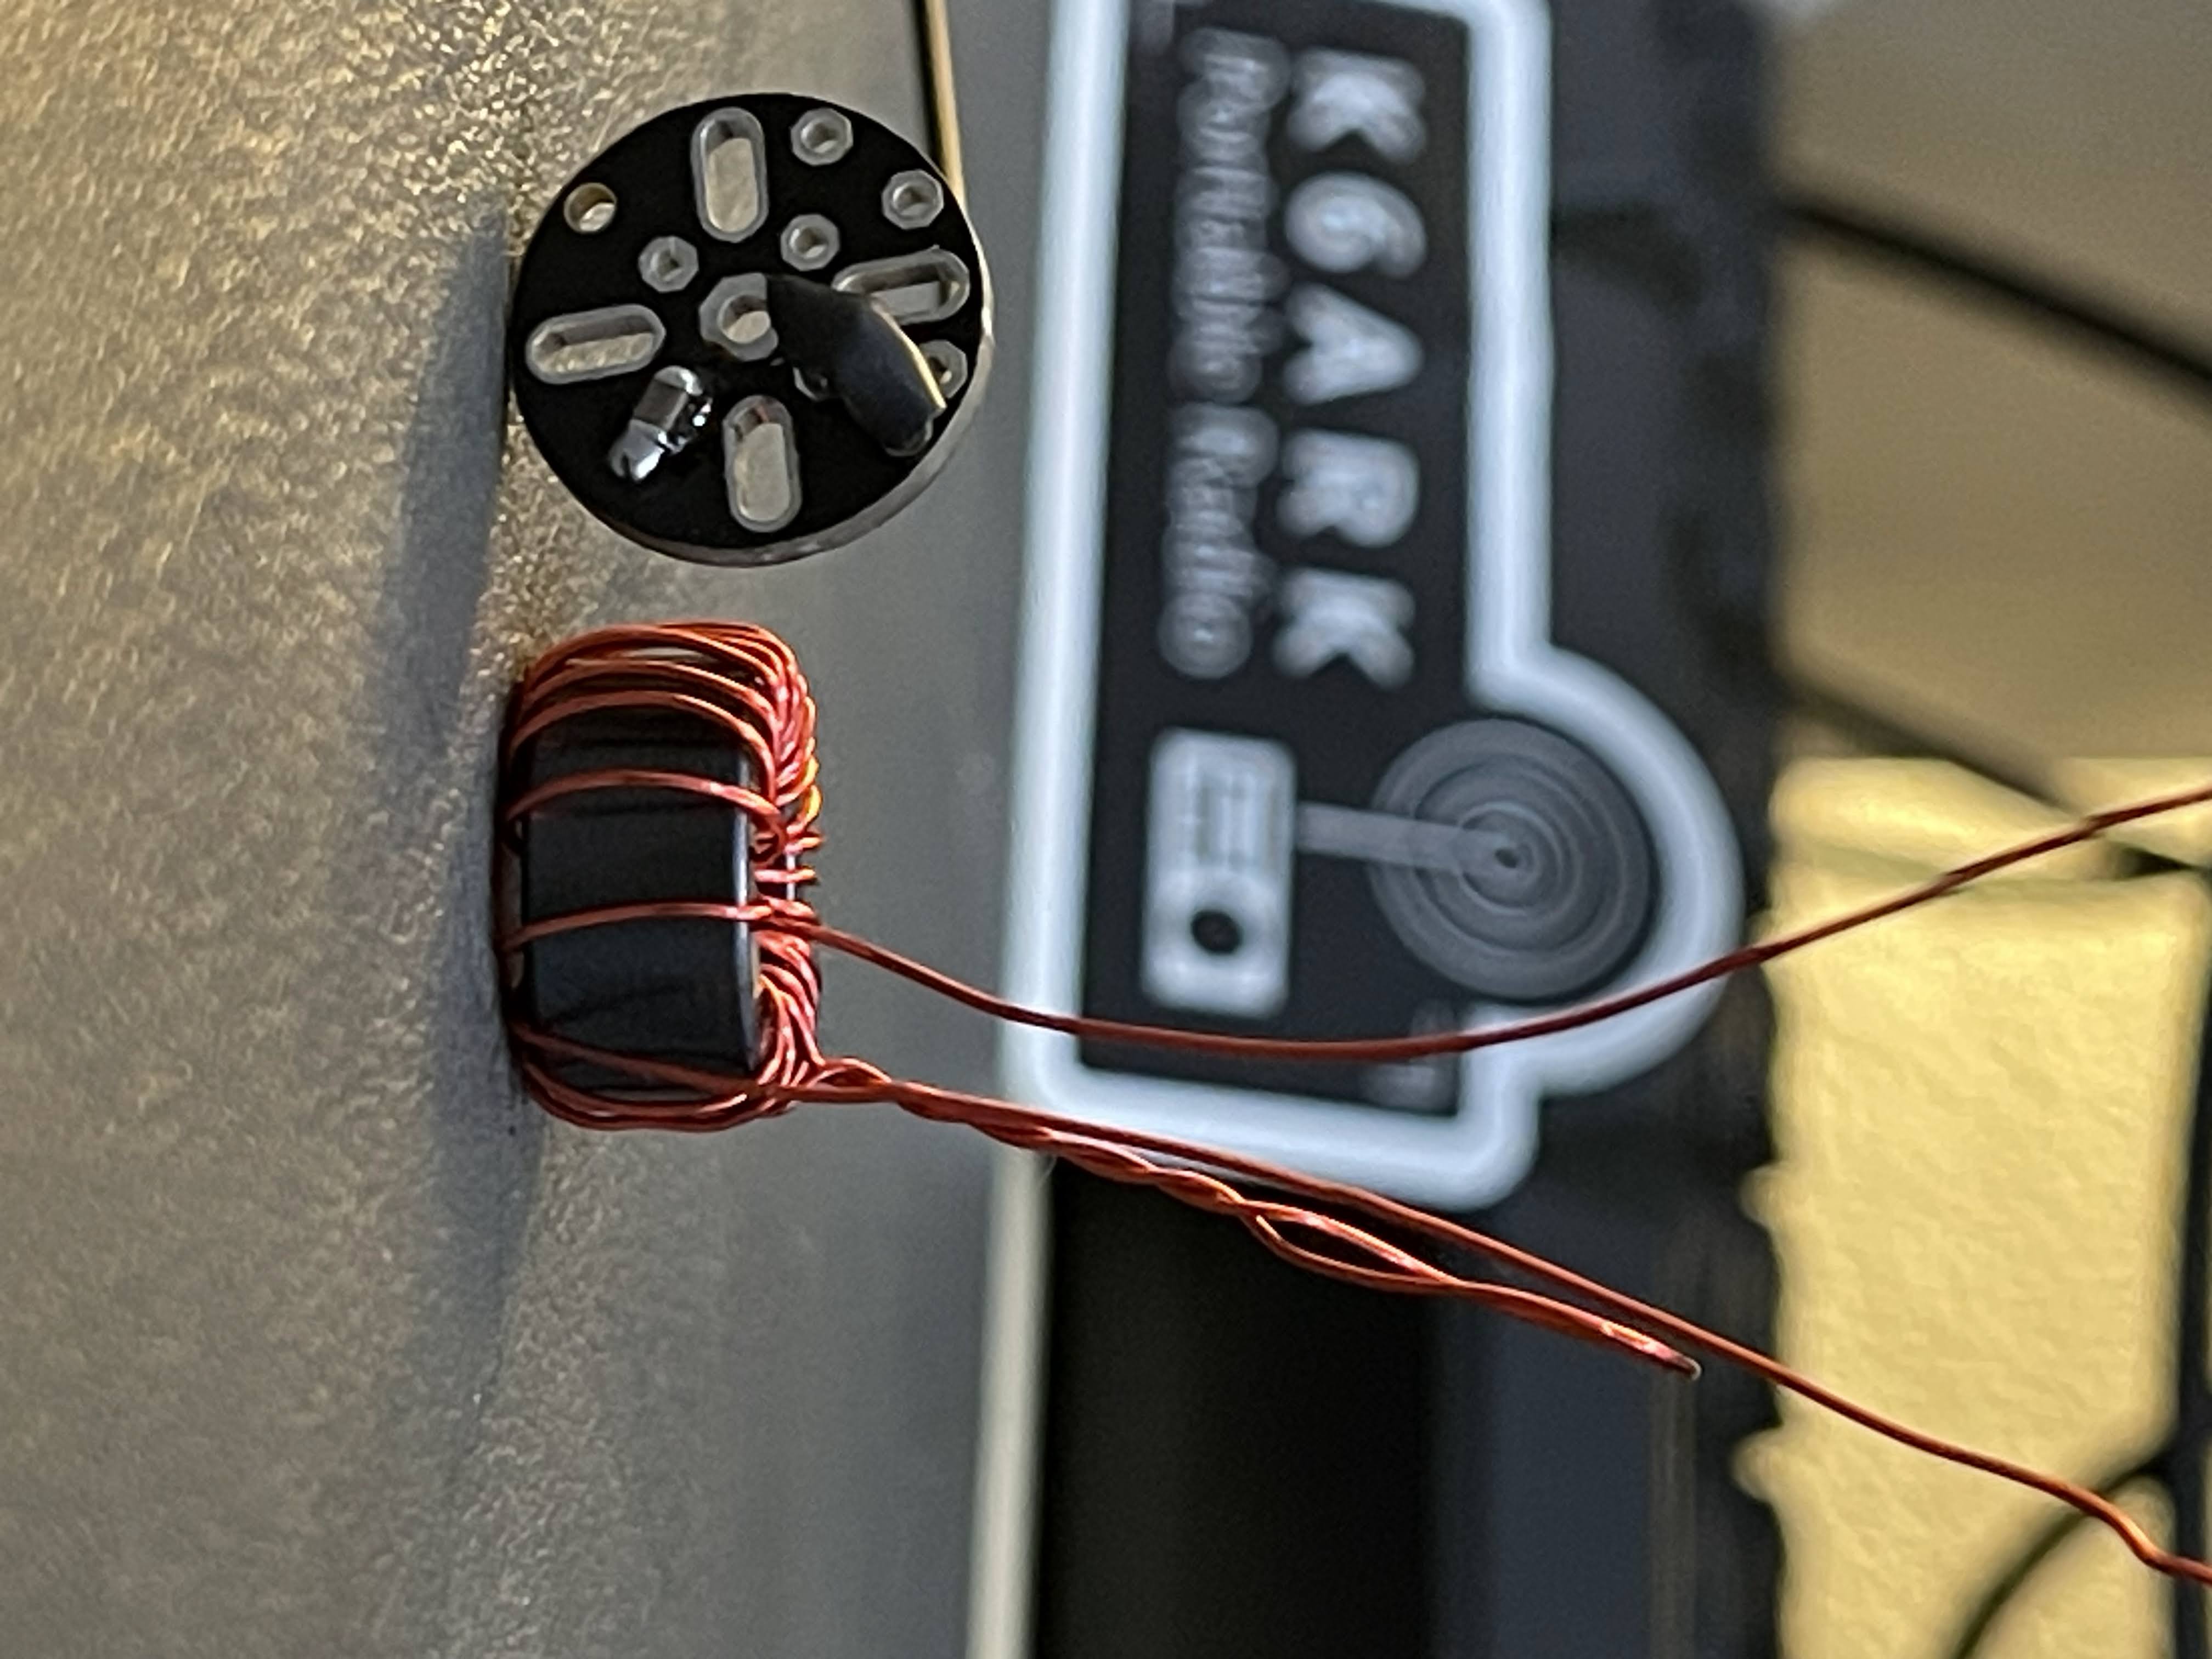 Intersting how these windings effect the resonance.
Step 2: Soldering the Components
Next, I soldered the components onto the PCB. Attention to detail here is key to a reliable build.
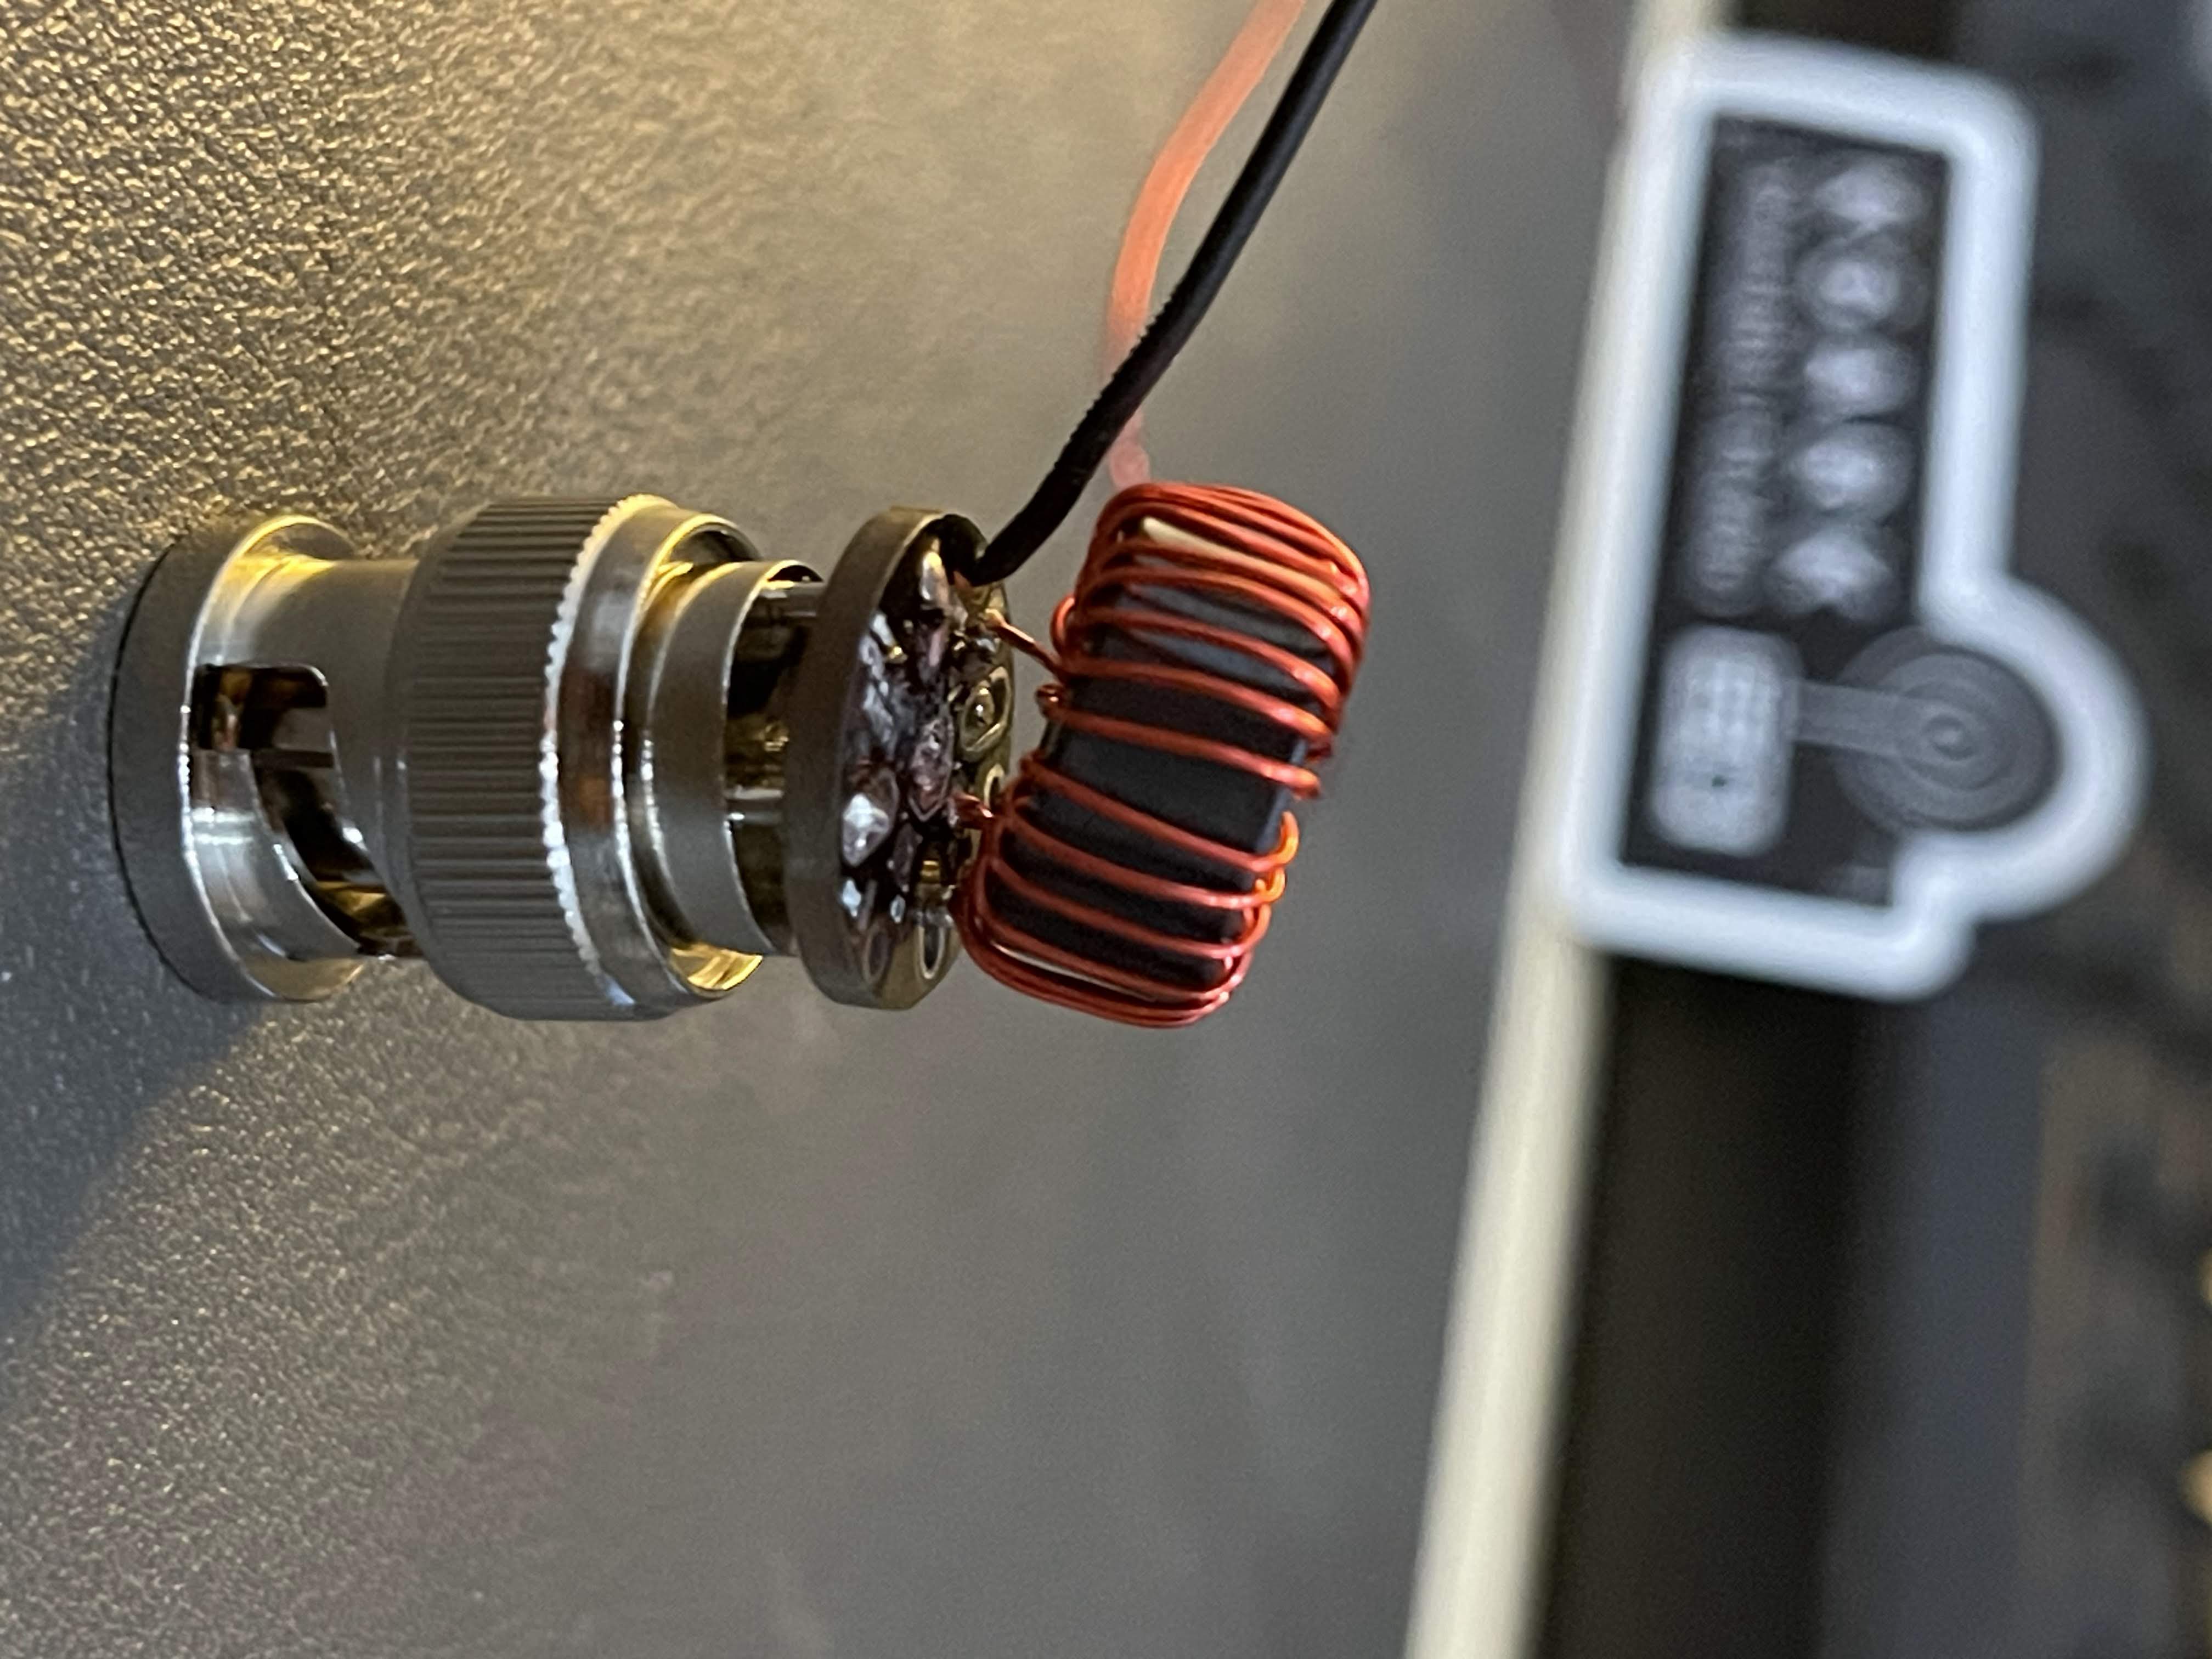 Steady hands and patience are essential for soldering! And readers helped me a bit :)
Step 3: Assembling the Enclosure
With the components soldered, I moved on to assembling the enclosure and ensuring all parts fit snugly.
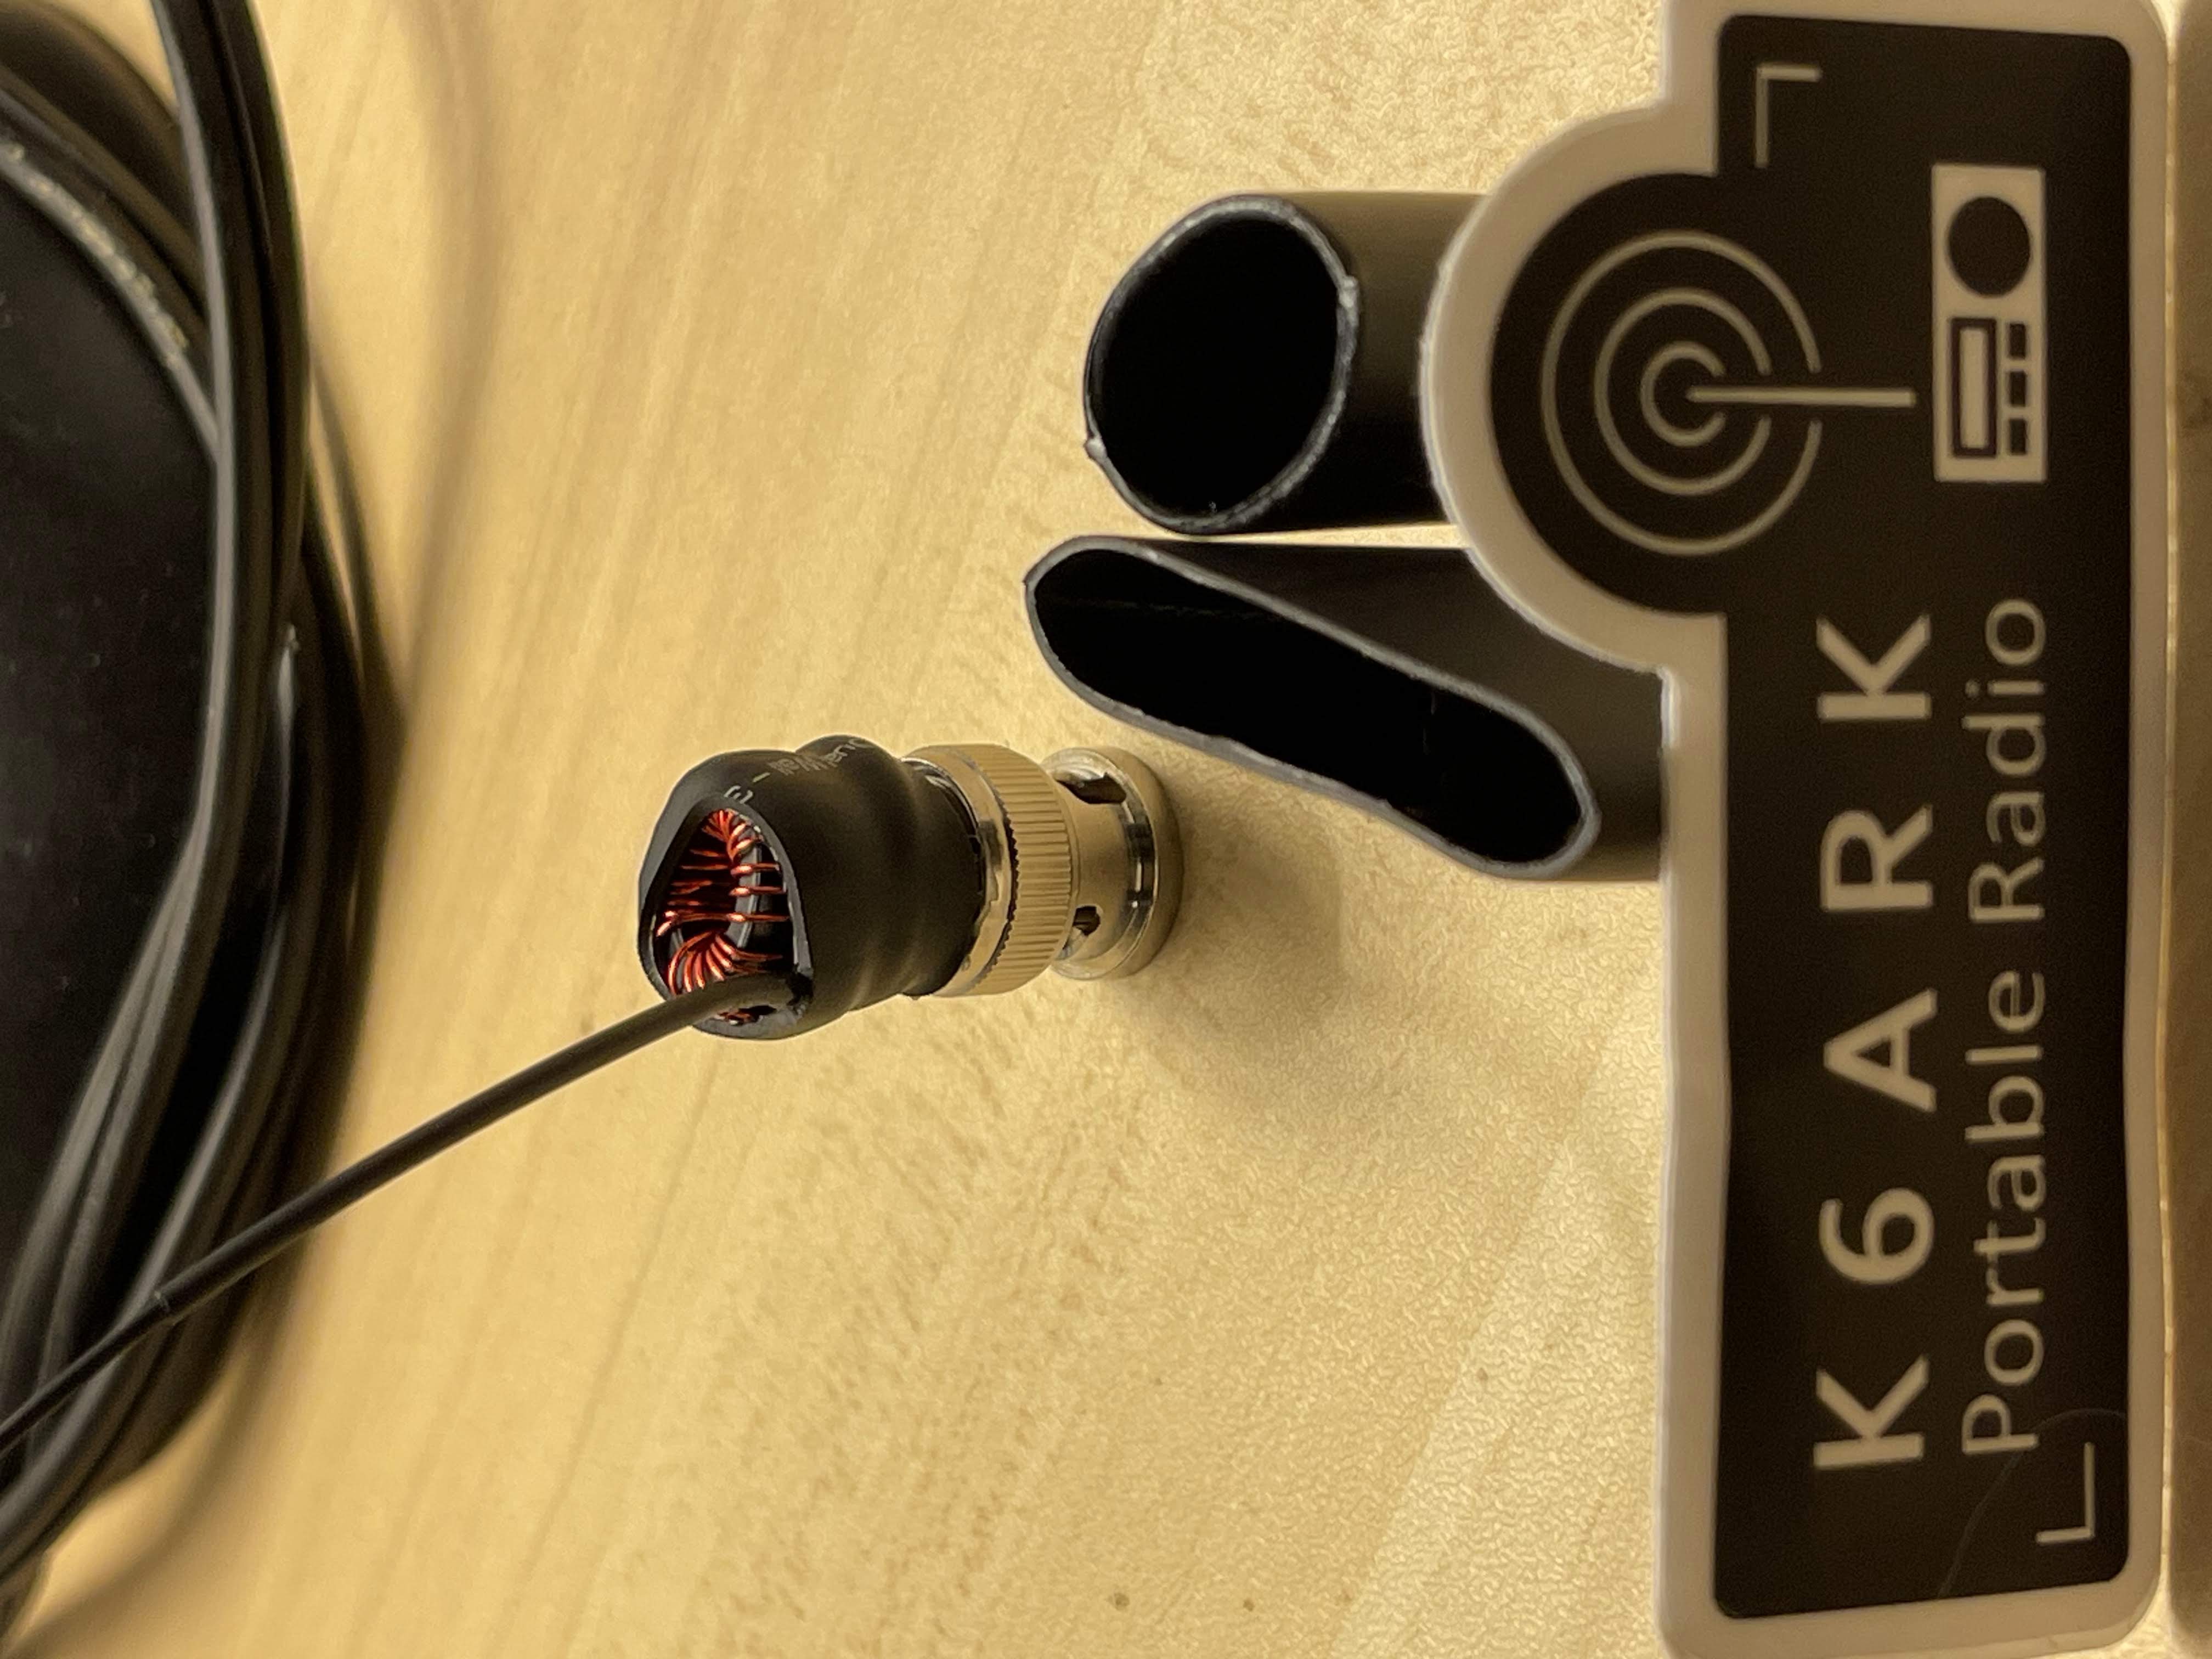 The enclosure helps protect the components from the elements.
Step 4: Final Testing
After assembly, I tested the antenna using an antenna analyzer to confirm everything was functioning as expected.
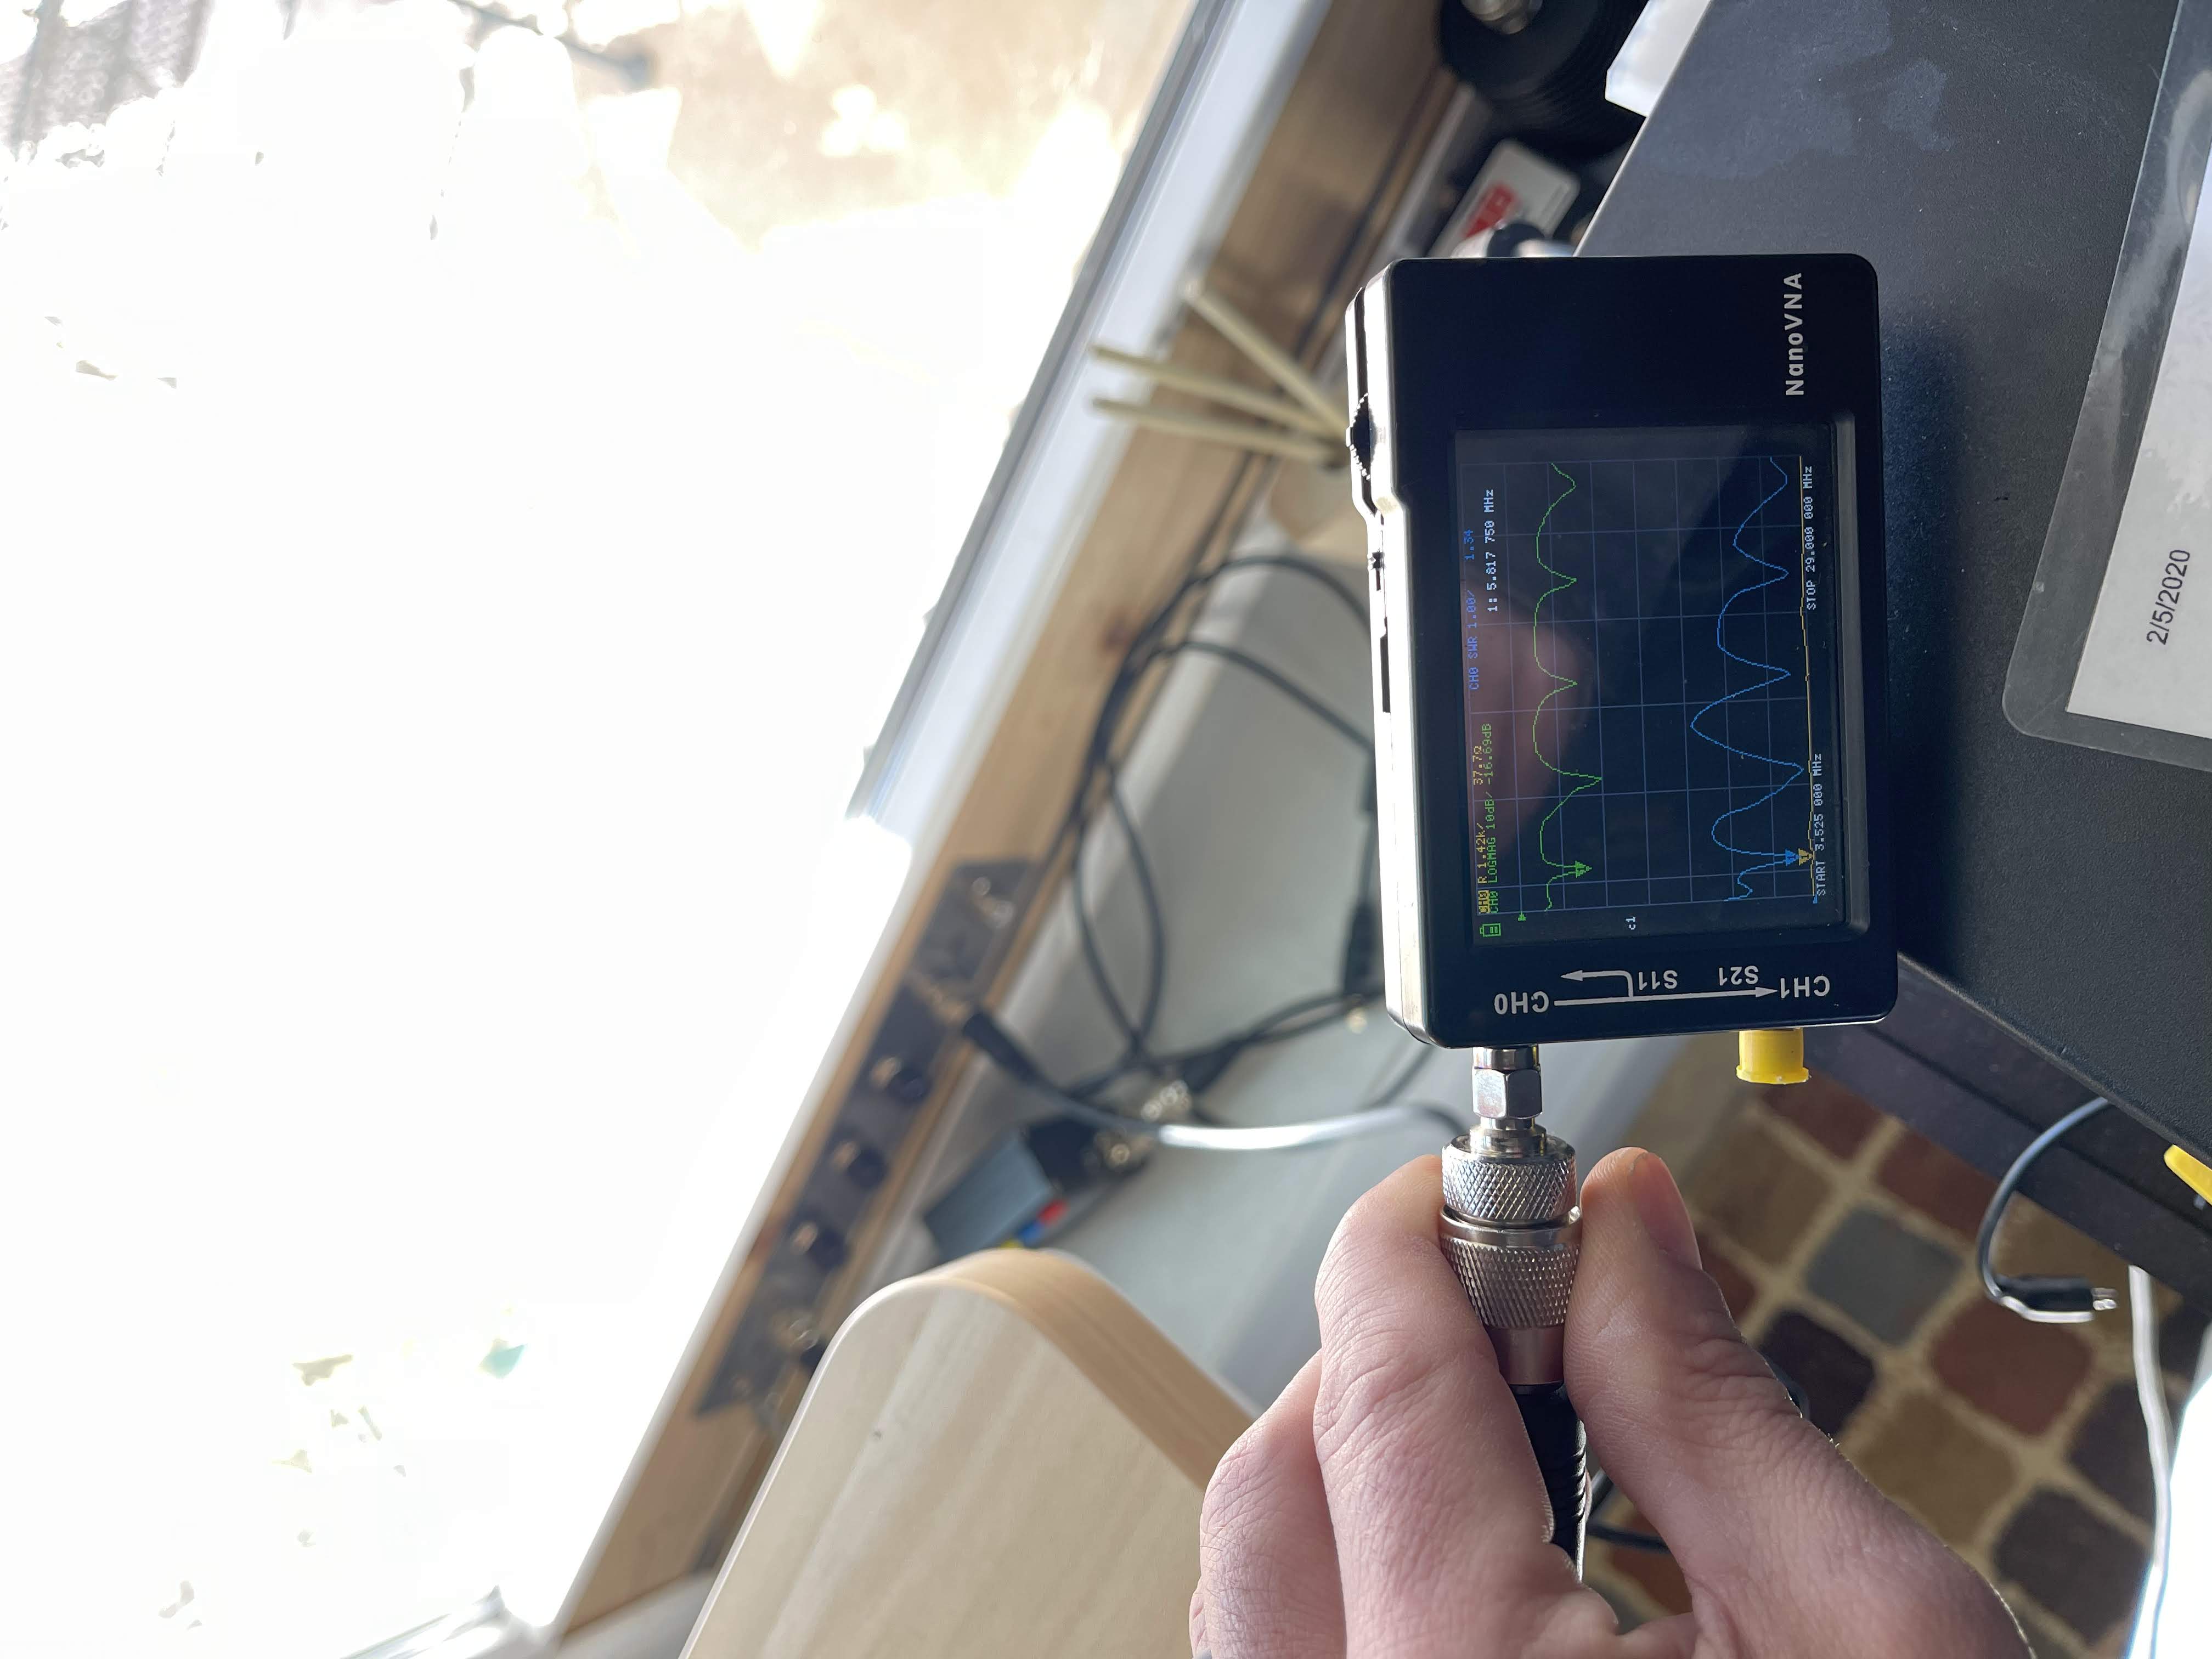 The readings looked great!
Step 5: Deployment
Finally, I deployed the antenna in my backyard for its first real-world test. The performance exceeded my expectations!
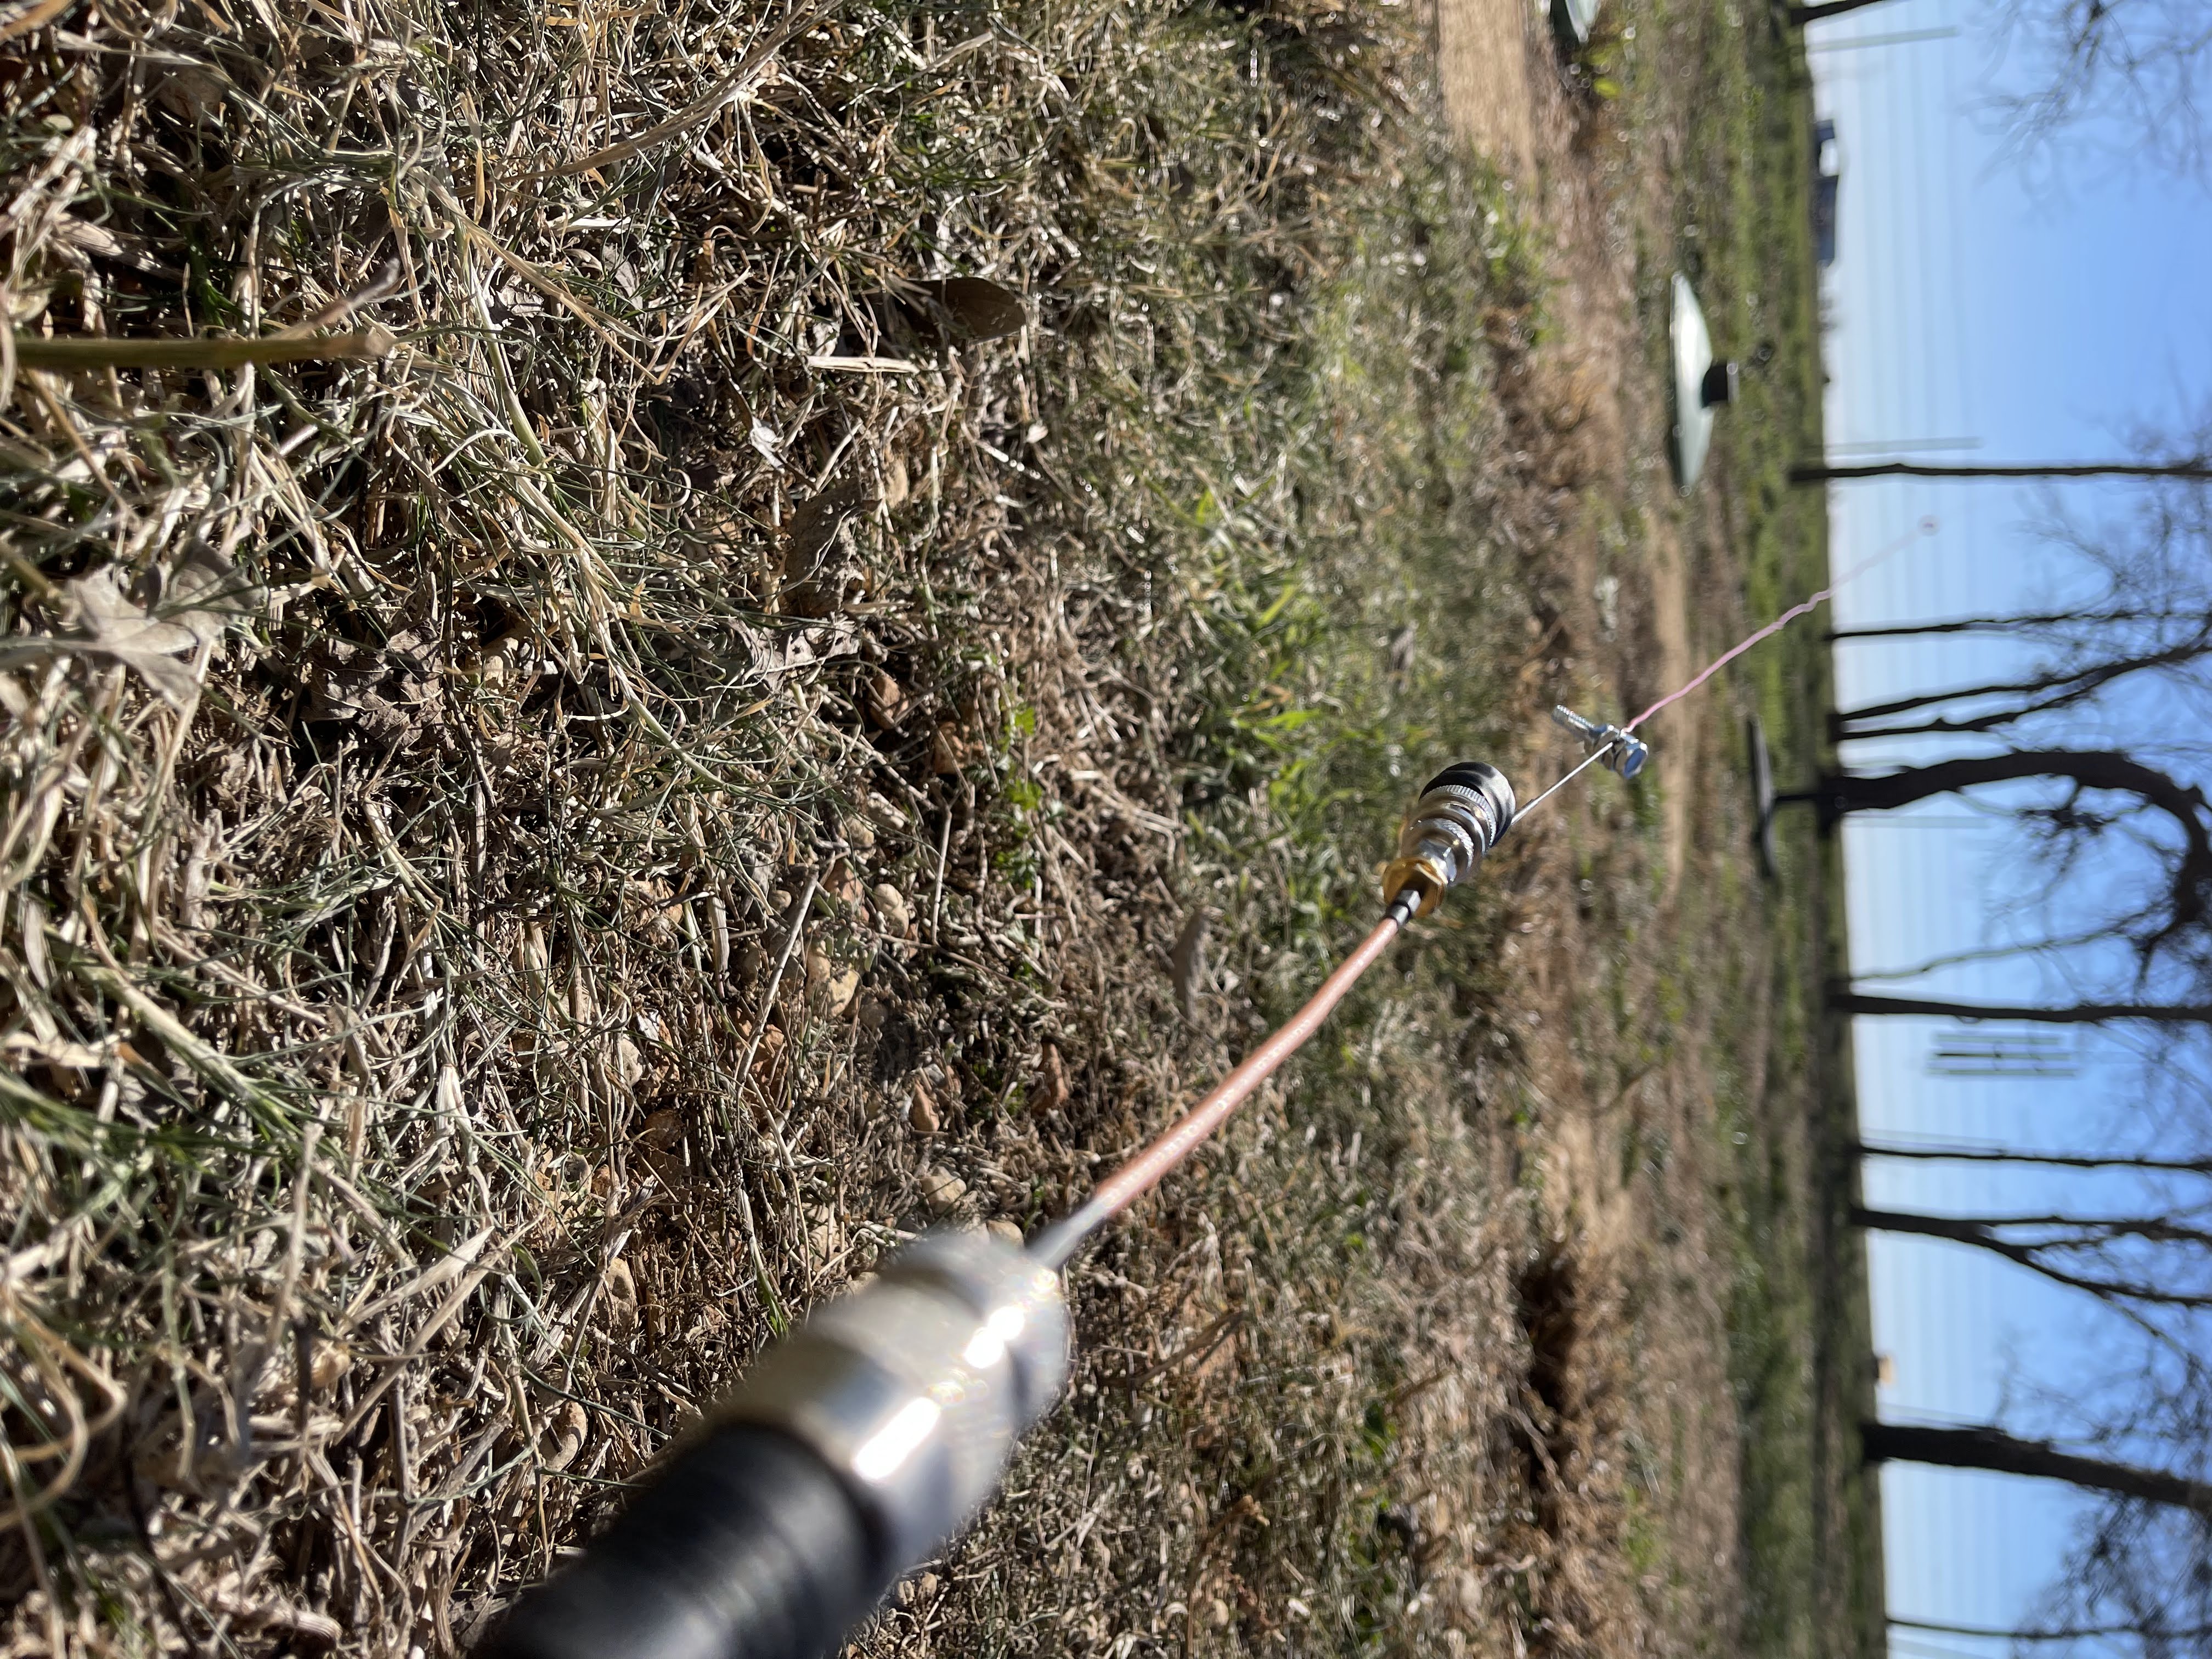 Up and running! The QRP EFHW in action.
Lessons Learned and Final Thoughts
This project was incredibly rewarding, and I learned a lot along the way. Following K6ARK’s guide made it achievable, even for a beginner like me.
Conclusion
If you’re considering building your own QRP EFHW, I recommend checking out K6ARK’s guide. The process is straightforward, the results are satisfying, and you’ll have a portable, high-performing antenna for your QRP operations.
73 de W5AWW
